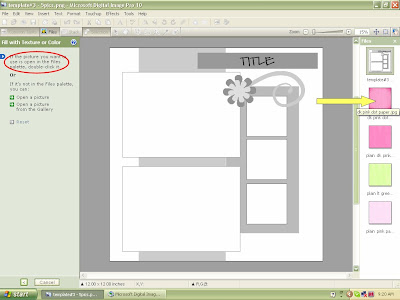
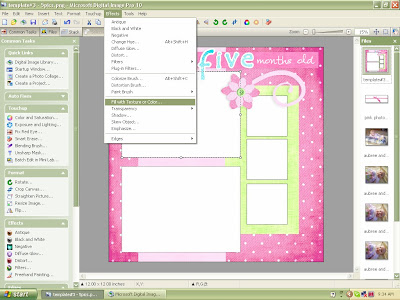
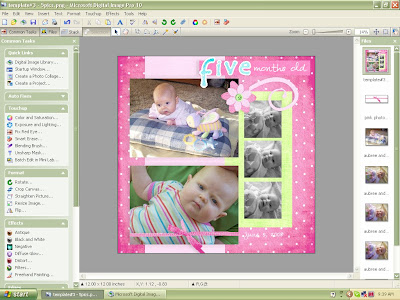
Often times we buy kits with a few elements on a page, like "My Big Backyard Girl" kit elements come. I know other programs are different and you use a lasso tool or technique to get individual elements off the page, but in DIP this is one way you can do it:
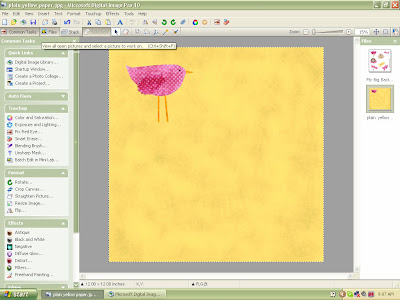
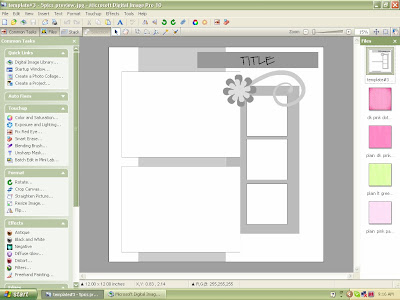
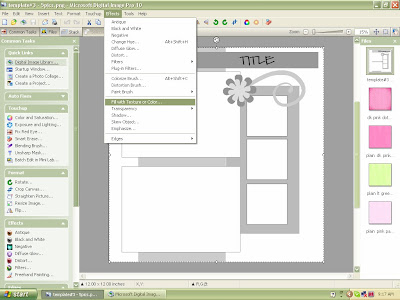
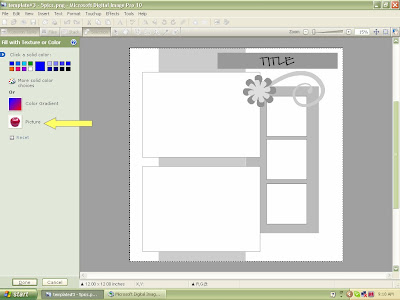
1. Open the element page you want to use and also the paper you are "pasting" on.
 3. After you have clicked on the marquee tool you can drag your box (or shape) around the element of choice (in this case the bird). Sometimes you may have to adjust that shape. The arrow is pointing to adjust. Click on this and adjust till you are happy with the area covered.
 4. The other technique or tool you can use is the Freehand tool. This is ideal for getting in tight spaces or around an awkward shaped item.
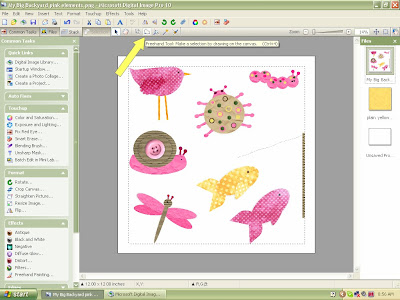 5. You click on this tool and then click or draw around the element freehand style.
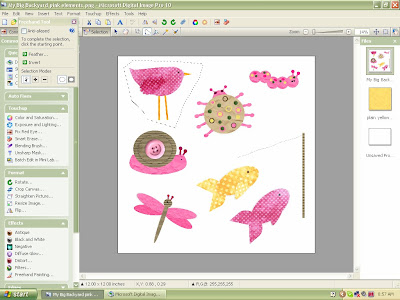 6. I then go to the copy button and hit copy (you can also use the cut and paste, but I always worry about accidentally saving without the element there...so I use the copy and paste).
7. Then select in your files open (to the left), the paper you are pasting on. Hit the paste button.
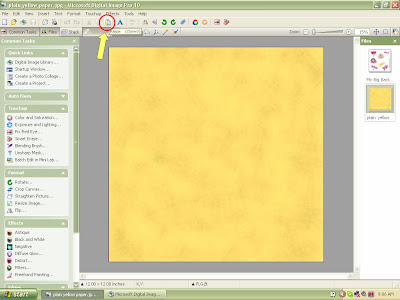 8. And there you have it: a bird nicely pasted on the paper. You can then go in and add the drop shadow if you want and complete your layout.